LEGO® Cape Cleaning
LEGO capes are made of thin, flexible fabric. In this guide, we show you how to properly clean and care for a dirty or wrinkled cape so it looks like new again, even after intense use.
1 Rinse the cape under running water
Rinse the cape thoroughly under running water to remove surface dirt and dust. This first step helps loosen coarse dirt and prepares the cape for the next cleaning step.
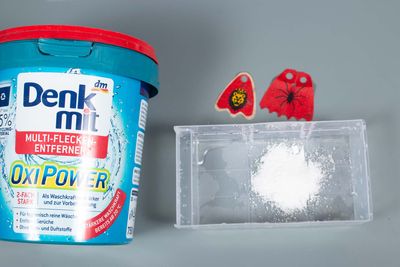
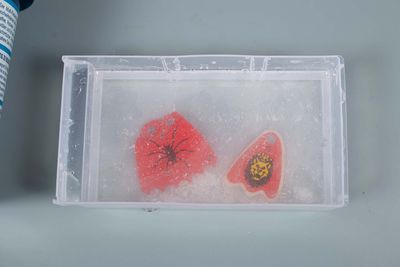
2 Soak in stain remover
Place the cape in a color-safe stain remover and let it soak overnight (approx. 12 hours). The stain remover contains special enzymes and cleaning agents that penetrate deep into the fibers and dissolve stubborn stains without damaging the cape's colors.
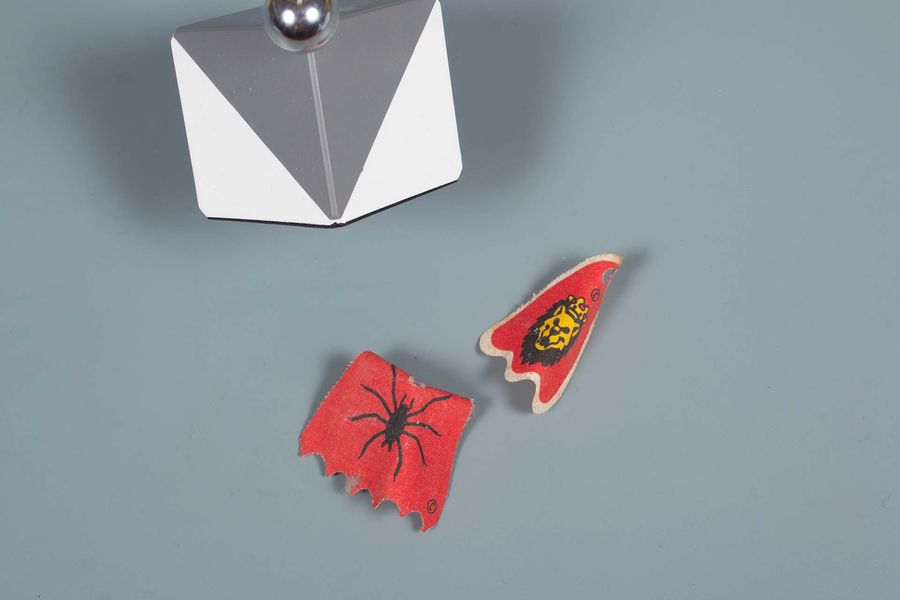
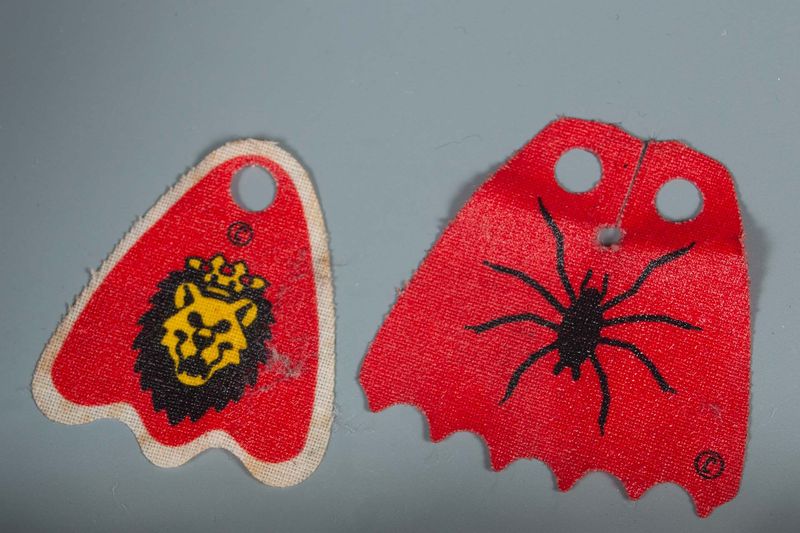
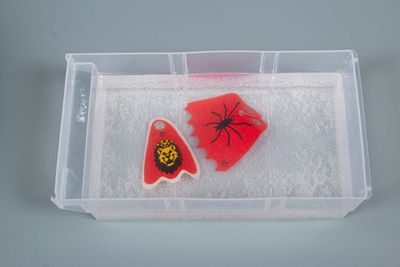
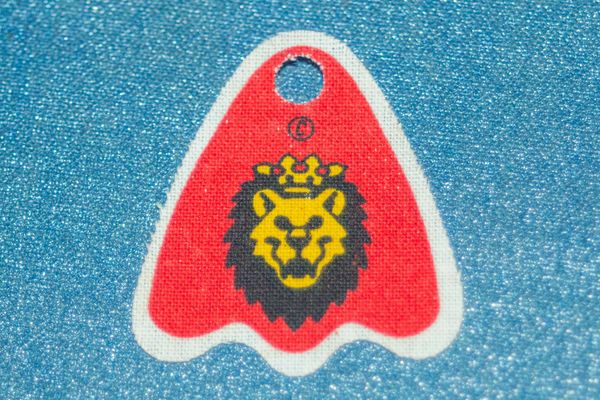
While this method works brilliantly for classic fabrics and prints (e.g., vintage Castle capes) without causing any damage, metallic coatings (like gold spots on Ninjago wings) are extremely sensitive to stain removers and will dissolve! Please clean fabric parts with metallic or foil prints only gently with plain water. The golden rule applies: Always test on an inconspicuous area first!
3 Rinse again
After soaking, rinse the cape thoroughly under running water to remove all stain remover residue. This step ensures that no chemicals remain in the fabric that could damage the material over time.
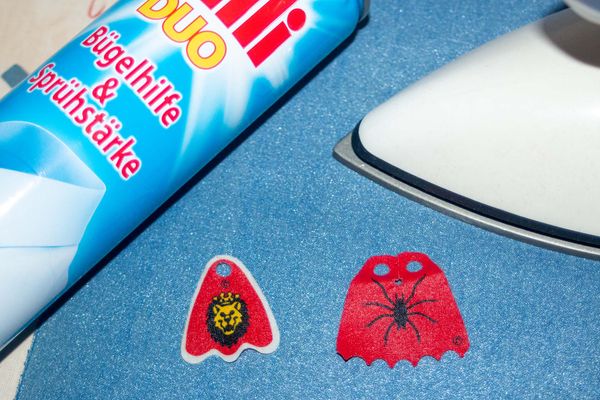
4 Iron with spray starch
Finally, iron the cape with a little spray starch to restore its original shape and firmness. The starch helps to smooth and stiffen the fabric, making the cape look like new again. Use a low heat setting to avoid burning the fabric.
Important Tips
- Protection when ironing: Use a piece of thin cotton cloth (e.g., a T-shirt) between the cape and the iron to avoid direct heat.
- Check colorfastness: If the cape is particularly old or sensitive, carefully test the stain remover on a small, inconspicuous area first.
- Let it cool: Let the cape cool and harden completely after ironing before attaching it back to the minifigure.
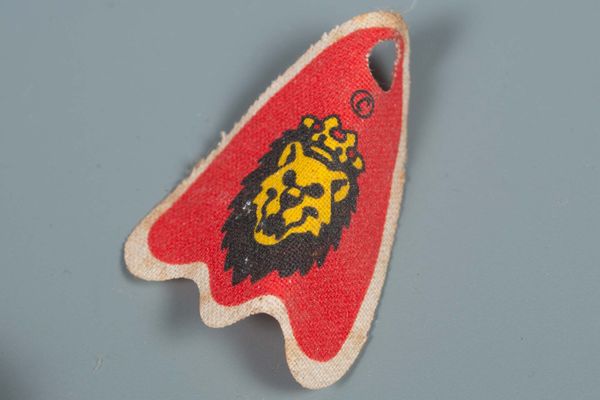
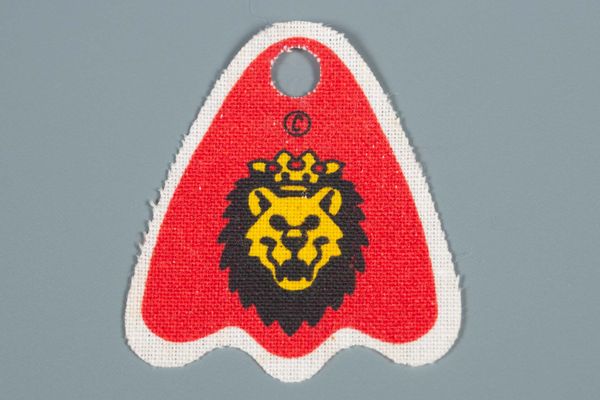
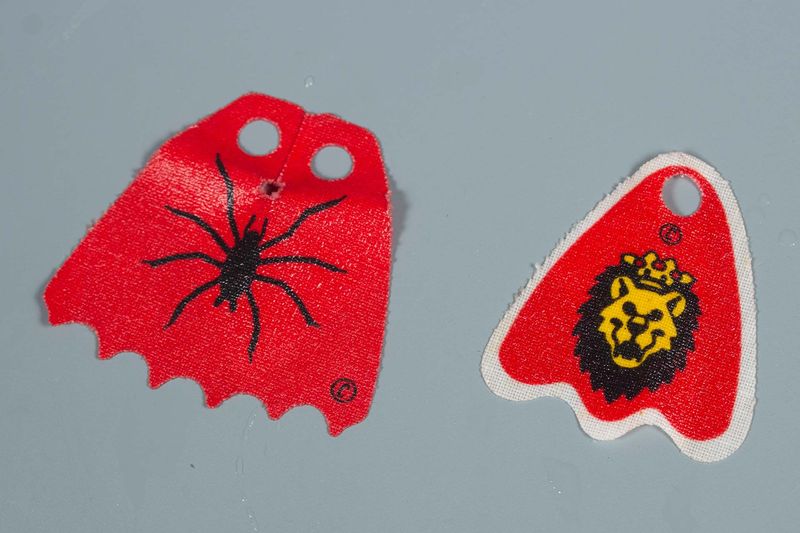
The Result: Before vs. After